

How to Set Up a Projector for a Meeting
When
you make a presentation, showcase your work or
uncover a topic within the workplace, you have several tools at your disposal
to get the best answer. These range from classic flip charts to interactive
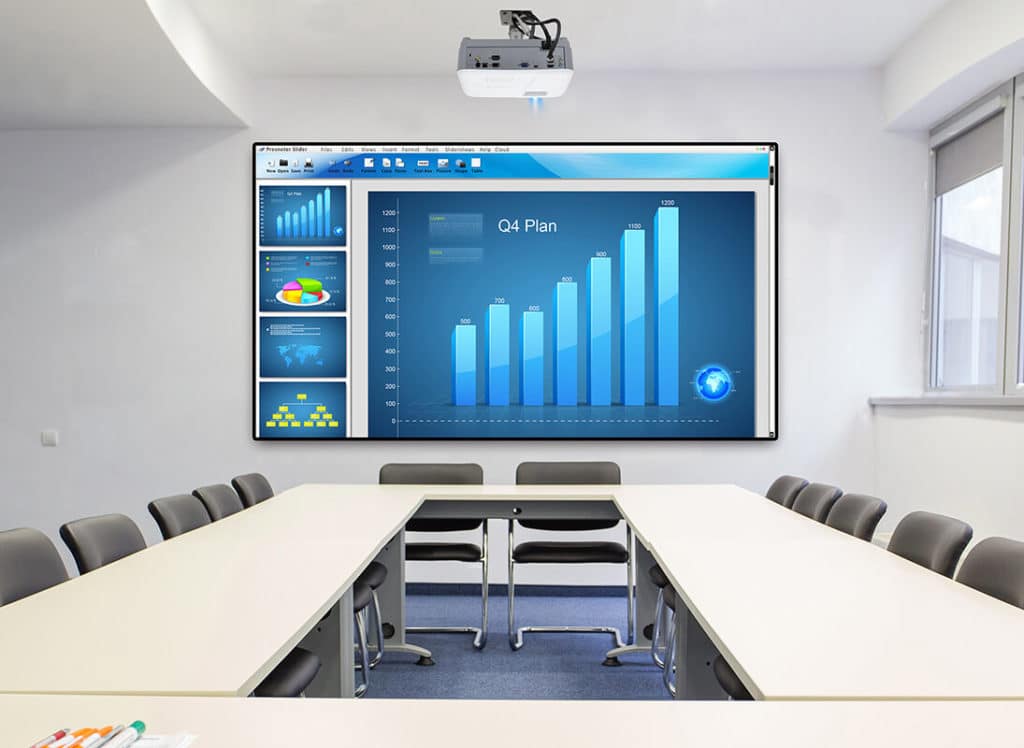
tables, but there is no tool more effective than a projector.
They help us share our ideas in crowded rooms, and
they are a very important business tool, but not properly installed. An
improper set of projectors can result in blurred images, unreadable text, and extended
video. Therefore, in this short guide, we will share with you the essentials for
setting up your projector for an assembly.
1.
Find Your Location
Your first step is to find the best location for your
projector and you need enough space for the project (this can go on a wall or a
focusing screen). Depending on how big your picture is, set it closer to the
wall (smaller image) or higher (larger image). Use a table as your position for
your projector and check distances.
You also want to make sure that the height of your
projector is correct. Most projectors are designed so that the lens is set
above the bottom edge of the projectile, so the projector is lower than the
final image is visible.
2.
Insert and Play It
Insert your projector and connect it to the source (be
it your laptop, tablet, or smartphone). Turn on your projector.
3.
Measure your image
Now an image will appear above your selection. Shape
the image online using the controls at the top of your projector and adjust the
image until you keep the focus image (or 4: 3) of your rectangle. If you do not
know how to use the control on the surface of your projector, see your guide
for guidance.
4.
Choose your photo mode
Most projectors have multiple modes. If you are in a
dark room, modes like 'cinema' or 'will movie' will work well. If you have a
room with ambient light, you need a bright picture and your projector should
have the appropriate mode. It is worth noting that these patterns are usually
green, which is not suitable for displaying graphic design works.
5.
Get ready to turn off the lights
The best picture quality is when you make the room as
dark as possible. Good luck!
No comments